Jul 31, 2010

Improvising

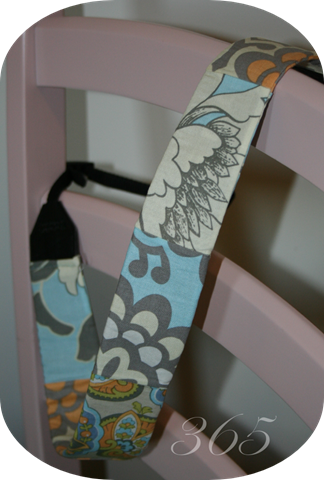
Sometimes when you sew without a plan things turn out just fine:

camera strap sew

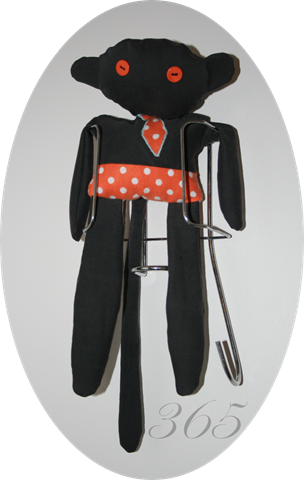
And sometimes they don’t:

monkey toy sew 

That top project was a cover for my camera strap. Very simple, all straight lines. The bottom project was a monkey. I made it knowing it probably wouldn’t turn out {but would make good practice} and should it turn out it would be a gift for a monkey-themed birthday party I went to today. Well, it didn’t turn out {which is why I had a back-up gift}. But Lucy still thinks he’s pretty fun.

Viggo was sick this week. But, with a little hair-pulling, cussing, and perseverance I managed to heal him. Hooray!

And now I’m off to enjoy my long weekend {Monday is a civic holiday, yay Canada}!

sigsew

Jul 28, 2010

Play Jewelry

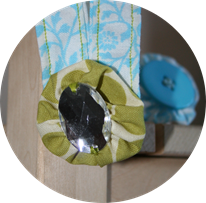
MiniDork loves to steal my necklaces. I have a Mommy Necklace and a key lanyard that she demands to wear whenever she sees them. While the Mommy Necklace is probably safe for her to wear I can’t let her wear the lanyard unsupervised because it’s a strangulation hazard. Plus, I’d really rather she didn’t steal my stuff. I’m always nervous she’ll lose something under the couch or that I’ll forget I took my keys out of my purse and get locked out. So I made her jewelry of her very own.
jewelry kid toy play pretend bracelet necklace sew make craft

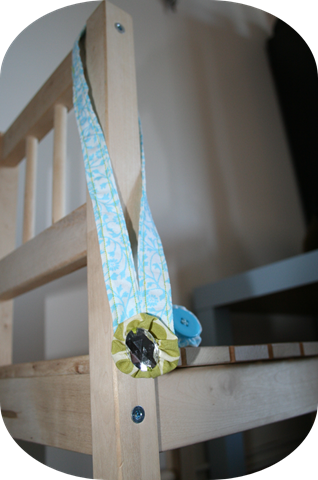
jewelry kid toy play pretend bracelet necklace sew make craftThe necklace is made with a velcro closure {yay! not a strangulation hazard!}, a fabric yo-yo, and a gem from last year’s Halloween costume. jewelry kid toy play pretend bracelet necklace sew make craft
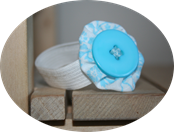
The bracelet or “watch” was inspired by this tutorial by Gingham Cherry. It’s just elastic, another yo-yo, and a big button. Cute, no?
But, of course, she still seems to prefer my necklace.
On a totally unrelated note: I contacted White customer service to ask them when Viggo was made. Hopefully I’ll get an answer soon. *fingers crossed*

sigsew

Jul 26, 2010

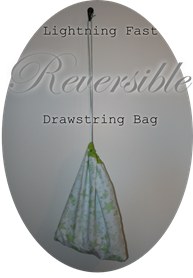
Reversible Bag Tutorial

easy sew craft project reversible bag tutorialI recently finished making the bean bags for the kidlets we have for Christmas this year {ManDork has so many siblings that they don’t all exchange gifts with each other every year and this year we have one of his sisters and her family}. I wanted to make a simple drawstring bag in which they could be stored.
So I did.
It was super easy.
And now I’m going to show you how to make one too.

You will need:easy sew craft project reversible bag tutorial
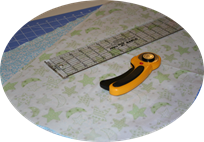
  • 2 rectangles of fabric 23”x14'”. When you cut your fabric make sure that one of the 23” sides is the selvage. I used two different fabrics so my bag was reversible, but you could use the same fabric if you want.
  • matching or coordinating thread
  • about 2 feet of matching or coordinating bias tape {mine was leftover from my onesie-turned-t-shirt project}
This project can be completed in approximately 0.5 Naptimes.
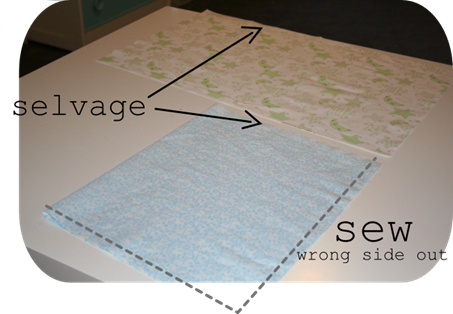
Fold a rectangle in half {14” end to 14'” end} with the right side of your fabric facing in. Pin and sew the bottom and the side. The bottom is the non-selvage side. Leave the selvage side open. I did 1/2 inch seam allowances and trimmed off some of the excess.
easy sew craft project reversible bag tutorial
Repeat with your other rectangle.
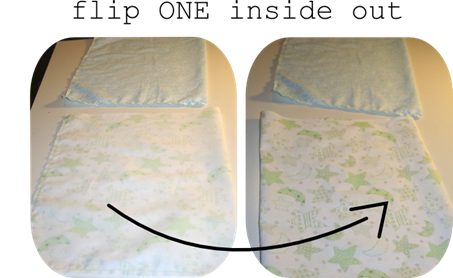
Now flip just one of your bags inside out so that the right side of the fabric is no longer on the inside.
   easy sew craft project reversible bag tutorial

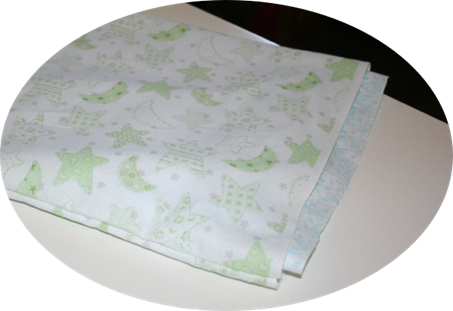
Stuff the bag that you did not flip into the bag that you turned inside out. Line up the top edges {the selvage edges} as best as you can. They’re not lined up in the picture below because I wanted to make sure you could see that one bag was now inside the other bag.
easy sew craft project reversible bag tutorial
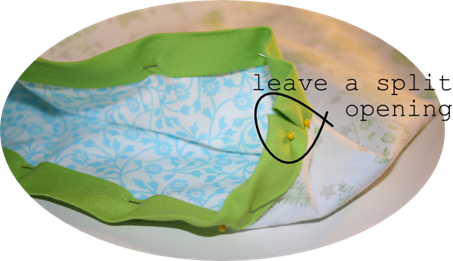
Now you will pin your bias tape along the top of both bags. Leave an opening where the two ends meet. You won’t want to sew that closed or else you won’t be able to do the drawstring.
 easy sew craft project reversible bag tutorial
Make sure you leave some inner open space between the top of the bags and the top of the bias tape {see illustration below…if you’re still confused let me know}. You will need that empty space for the drawstring. Fold over the ends of the bias tape so the raw edges don’t show. Sew the bias tape on with a zig zag stitch that overlaps the edge of the tape.
easy sew craft project reversible bag tutorialeasy sew craft project reversible bag tutorial
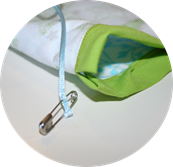
Then all you need to do is thread the drawstring. I used some string leftover from a non-sewing project but you could use ribbon if you wanted to. Just use a safety pin to help you guide your string through the casing created with the bias tape. Knot the ends together and seal them to prevent fraying. I used a lighter to seal the ends and to melt the knot itself a little to make sure it didn’t come untied.
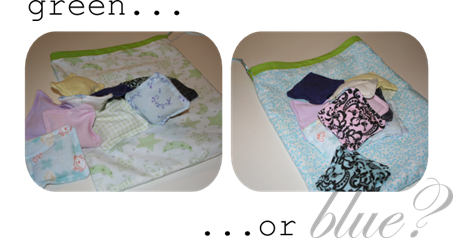
Voila! Reversible bag for storing bean bags, fabric scraps, the evidence from your secret crime, or whatever else needs storing. You could also make this in different sizes to suit your fancy, embellish it with ric-rac or applique, or use a pretty ribbon to make the caseing instead of bias tape.
easy sew craft project reversible bag tutorial 

If any of these instructions are too confusing just let me know in the comments.


sigsew

Jul 25, 2010

More Converted Onesies

IMG_4423.JPG
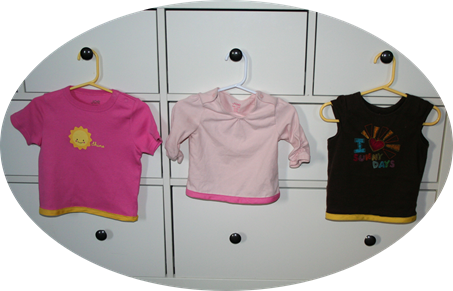
I completed three more t-shirts this weekend. I’ve had my in-laws staying over and not a lot of free time so it just goes to show that this really is a quick and easy project. If you missed the tutorial you can find it here. Cute, no?
sigsew

Jul 23, 2010

From Onesie To T-Shirt

onesie t shirt sewing tutorial craft easy
We’re doing casual potty training with the MiniDork. We’re using the baby signs system but we’re not in a rush. But casual or not, potty training is a pain if your kid wears onesies. Having to unsnap a shirt in addition to removing pants and a diaper is not conducive to speedy potty time. So I decided MiniDork would just not wear them anymore. The only problem was that she had all these cute outfits with onesies. I tried to find shirts that matched the pants but as the outfits were matched sets I couldn’t find anything. That’s when I decided I’d simply turn her onesies into regular shirts.
To remake onesies into shirts use an acrylic ruler and a rotary cutter or use scissors {if you can cut a straight line} to cut across the whole width of the shirt as close to the bottom as possible. Like so:
onesie t shirt sewing tutorial craft easy
Unfortunately, after the snap bottoms were cut off, some of the shirts were just not long enough to be worn as t-shirts. As much as I love adorable toddler bellies I didn’t really want my child walking around with hers hanging out all the time. After cutting just try the shirts on your kiddo to see if they’re long enough. If not you can do like me and save them to make into a baby clothes quilt later.
onesie t shirt sewing tutorial craft easyNow you’ll need bias tape and matching thread. I took all my shirts with me to the fabric shop so I knew for sure that what I purchased would coordinate well. I needed about two feet of bias tape for each shirt but you should probably measure yours to be certain. Just measure across the cut area, double it and add an inch or two to be on the safe side {you can always cut off excess but you can’t really add more if you don’t have enough}.onesie t shirt sewing tutorial craft easy
Pin the bias tape to the bottom of the shirt and sew! I used a small zig-zag stitch because it seemed like a good idea since the shirts were knits. {Make sure to fold over the ends of the tape so there are no raw edges showing.}
Why bias tape? Why not just hem? Well, for one hemming makes the shirts even shorter and you’ll want to keep as much length as you can. Also, after several attempts I could not get the hang of sewing the knit fabric by itself. Viggo just kept eating the fabric and ripping it. I tried using paper to stabilize the fabric and keep it from being sucked down towards the bobbin but when I tried to rip the paper away it ripped the stitching too. Finally I did what any seamstress would…I complained about it to my mother. My mom doesn’t sew, but she is very clever. She suggested just sewing a ribbon to the bottom of the shirts so the ribbon could act as a stabilizer. Bias tape seemed less delicate and slippery to work with so I went with that instead. But if you’re a better seamstress than I am you could use ribbon, or blanket binding or whatnot. You could even use strips of a coordinating fabric. Get creative! 
onesie t shirt sewing tutorial craft easy
I think she likes it. :)

ETA: To see more shirts click here.


sigsew

Jul 20, 2010

Well, Darn

Saturday I was having such a good day doing a bunch of different things {like eating ice cream, twice} that I totally forgot to sew.
Bummer.
First I thought “Well, I’m not even two weeks in yet. I can just start over.” Then I thought “Meh. I really did just forget. Am I going to start over if I forget on day 364? I need to stop being such a perfectionist.” Then I thought “but the experiment is every day for 365 days, not 365 days except when I’m distracted or don’t feel like it or <insert excuse here>.” Then I thought “do my {potential} readers care how precise I am? Does it make the experiment less interesting and meaningful if I don’t stick to my arbitrary and self-imposed rules?”
These are the sorts of things that keep me up at night worrying. Now you know the depth of my neurosis. {And if you think I’m just being attempting to be funny I would like to point out that I’m working on this post at 3:03 am.}
I also had Viggo jam up on me twice since the last time I posted which was very frustrating. The first occasion was so bad the onesie I was trying to hem into a t-shit ripped {and may not be salvageable}. The ManDork had to remove the needle from the machine just to remove the fabric. I have no idea what went wrong. I’m just hoping it doesn’t happen again when I pluck up enough courage to work on all the onesies I’m converting {we’ve casually begun potty training and unsnapping MiniDork’s shirts so she can sit on the potty is sort of a pain}.
But it’s not all bad. I finished the second set of bean bags which will be sent to certain kiddos to whom I am related as part of their Christmas present. MiniDork is still endlessly entertained by hers so I think they’ll be well-received.
The I-Spy Swap is full and the Flickr pool of fabrics is growing in awesomeness. They’re are a few selections I just don’t like and may not end up using but overall the fabrics are full of awesome and win.
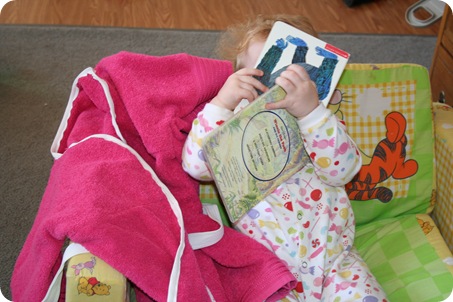
I bought some new towels on sale that are thinner and covered in blue butterflies {MiniDork looooooves butterflies…and bees too thanks to copious amounts of Pooh-watching but there were no bee towels}. As soon as I get more twill tape and get everything pre-washed I will again attempt to make her a bath robe. And if she hates it I’ll concede bathrobe defeat and move on to the hundreds of other projects I have bookmarked.
I’m not exaggerating. I have hundreds of saved links to various sewing projects I want to tackle {and even more links to other non-sewing crafts}. I figure if I stop visiting One Pretty Thing and all the other craft blogs I like {and therefore cease to collect more links} I might finish all the projects on my oooooh-that’s-so-cute-I-have-got-to-make-that! list by 2025. What can I say? Some people collect porcelain figurines of creepy-looking children with oversized eyes, I collect ridiculous numbers of to-do items.
sigsew

Jul 16, 2010

Failrobe

 toddler bath robe sew craft
Mumble grumble moan pout mumble…the project I spent the better part of yesterday working on is a complete fail. I saw this tutorial on Obsessively Stitching on how to make a toddler bath robe from dish towels and knew I wanted to try it. I didn’t see any cute dish towels, so I decided to go with fluffier hand towels {probably my first mistake, made sewing pretty difficult}. My second mistake was eyeballing where to put the belt loops. They’re so low on the robe that they’re below MiniDork’s bum. My third mistake was thinking I could neatly sew the binding {I couldn’t, not at all}. And my final mistake was assuming MiniDork would even like a bathrobe.
She hates it.
She won’t wear it. She cried when I put it on her. And now she hides her face when I suggest she put it on.toddler bath robe sew craft
So I’m not even sure it’s worth trying again with the recommended type of towels. This whole debacle makes me grumpy. I hate putting so much time and heart into something only to have it not turn out. I’m really grateful for my everyday experiment. In most cases when I have a project fail it puts me in such a bad mood I stop doing that particular craft or hobby for quite a while. This time I’m still dealing with the bad mood bit, but I *have* to get back on the proverbial horse.
I’d just like to point out that these fails are all my own. The tutorial is just fine and you should totally try it yourself {but with less fluffy towels and less failage}.
Also I’m participating in an I Spy swap! Woo-hoo! I first learned about I Spy quilts on Obsessively Stitching. But she ran her swaps before I had a working sewing machine. So I missed out. Well she inspired this swap on Crafterhours of exclusively Spoonflower fabrics and I jumped at the chance to participate.
These are my two contributions to the swap:
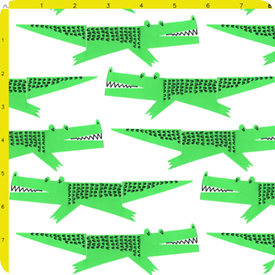
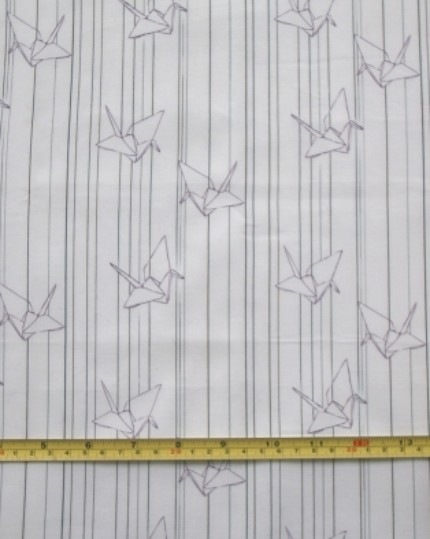
alligator crocodile i spy swap fabric i spy swap fabric paper origami cranes
I designed the origami fabric myself. I have a thing for paper cranes. You can see more of the swap fabrics in the Flickr Group. It’s not too late to sign up for the swap! So if you’re interested just click the button!
i spy swap button
sigsew

Jul 13, 2010

7 Days In, Or “The Week I Went Fabric Crazy”

I’ve had Viggo for 7 days now. I’ve sewn at list a little each of those days. So far so good. I’ve only had one FAIL so bad that I have to start completely over. For a novice that’s pretty good, right? So what if all my other projects have been simple straight-lines-only-type projects? I’m still pleased with myself. I’ve really only been sewing for a little bit each day {thank goodness for nap time, eh?} but little bits of time here and there really accomplish a lot in a weeks time.
I’ve finished MiniDork’s bean bags and she L.O.V.E.S. them. Hopefully they’ll be just as popular with the nieces and nephew for whom I’m making a set. I’m half-done with their bean bags, but would like to also make a simple drawstring bag to put the bean bags in. I’m also going to be making more heat packs, but this time I’ll be putting nice “smelly-stuff” in them, like cinnamon and cloves {thank you BethanyBob for the suggetion!}.
Sooooo…I may or may not have gone a little fabric crazy in the past week. Between the profits from the sale of my two broken sewing machines, and some money I won, and my allowance I got a little “supply-happy.” Here’s what I got:
  • Some super-cute flannel for $3.95 p/yard to make more bean bags, rice heat packs, and other projects I’m planning.
  • A deep cut assembly for my Cricut so I can cut fabric for appliqué {something I’ve been dying to do for years}. Usually the assembly costs $50+ but I found it on Amazon for <$12!!!
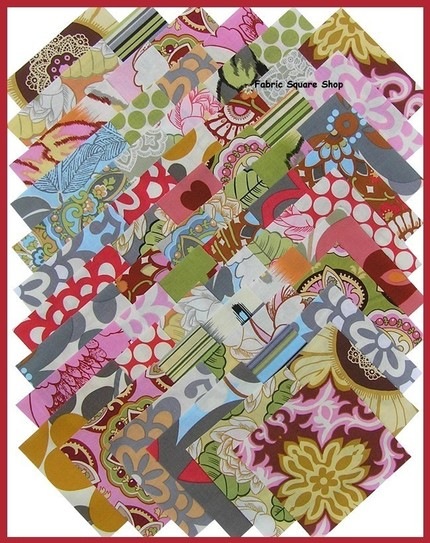
  • Some fabric on Etsy {see pictures below}.
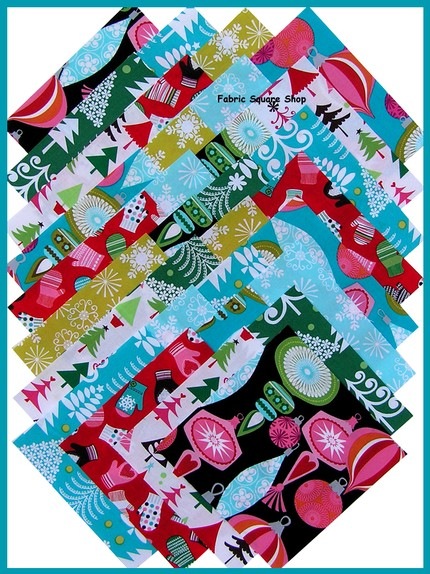
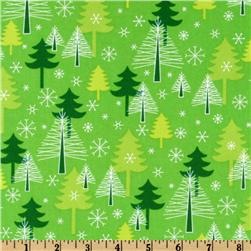
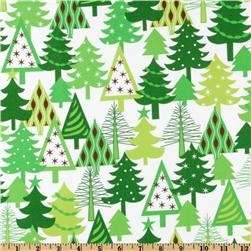
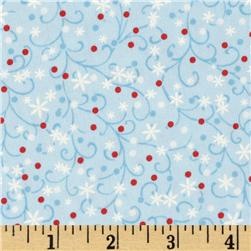
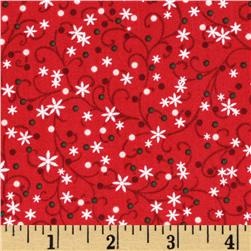
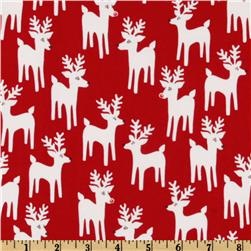
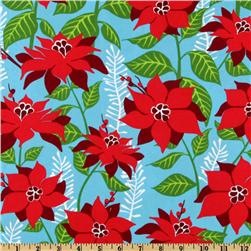
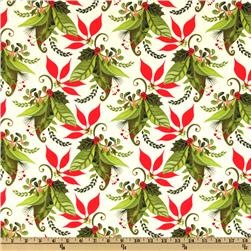
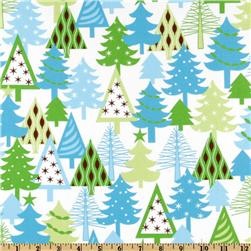
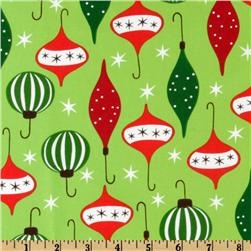
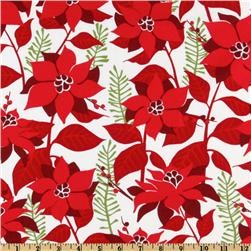
  • Some fabric from Fabric.com {see pictures below} for making my very first quilt ever {a Christmas quilt}! I heart Christmas so freakin’ much {which is probably why I proceeded to get more Christmas fabric on Etsy.
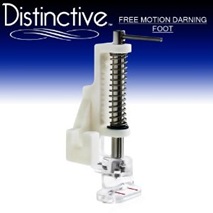
  • A free-motion foot for Viggo so I can do free motion machine quilting.
  • Some silk-screening fabric paint for some projects I have in mind.
  • Two hot pink towels to make MiniDork a bath robe.
  • A bias tape maker thingy {“thingy” is the technical term}.
Other then some thread and such I think that’s it. And maybe with the exception of some elastic thread I’m putting myself on a fabric/notions buying moratorium until I get further down my projects list. Anyhow, here are some pictures of some of the goodies I got {click on the images to be taken to the site from which items were purchased}:
deepcut quiltingfootMillerXmas  amybutlercranesxmas1 xmas2 xmas3 xmas4 xmas5 xmas6 xmas7 xmas8 xmas9 xmas10  
So that’s all for now. Hopefully I’ll have some more tutorials for you this week. :)
sigsew

Jul 10, 2010

Bean Bags

I’m getting a head start on my Christmas gifts. And for some of the kids on my list I’m making mini-bean rice bags {though I’m making a set for my MiniDork first, as practice}. They’re really easy {just follow the instructions for the rice heat pack but use 4x4 squares instead of 6x9 rectangles and about 1.5 eighths-a-cup rice}. I’m halfway done with MiniDork’s set. I’m sure I’ll be finished with all of them in the next several days.
bean bags kids christmas gift idea
The list of uses for these is pretty much only limited by your imagination. Here’s a head-start:
  • juggling
  • catch
  • hide and seek
  • hopscotch “stone”
  • weapons of “war”
  • math manipulatives
  • color sorting
  • paperweights {that was ManDork’s suggestion}
  • waste basket “basketball”
  • hackey-sack
Any good ideas I missed? Leave ‘em in the comments!
sigsew